Fisher-Price Glow & Grow Kick and Play Gym Review: 0-24 Months
11th Jan•7 min read
Did you know that over 200,000 children are treated in emergency rooms each year for playground injuries? Setting up a safe play mat at home gives parents peace of mind while letting little ones explore freely. The right setup protects against bumps, supports healthy development, and creates a cozy spot where kids can play safely every day. Learning proven steps for selection, preparation, and safety checks will help you build a protective play zone with confidence.
| Key Point | Explanation |
|---|---|
| 1. Choose safe materials for play mats | Opt for non-toxic materials like EPDM rubber or HDPE, ensuring safety and durability during play. |
| 2. Verify safety certifications | Check for recognized certifications like ASTM F1292 or EN1177 to ensure proper impact absorption. |
| 3. Clear the play area of hazards | Remove sharp objects and secure unstable items to create a safe space for your child to explore freely. |
| 4. Regular cleaning maintains hygiene | Establish a routine for cleaning the mat with non-toxic solutions to prevent bacterial growth and extend its lifespan. |
| 5. Conduct regular safety checks | Periodically inspect the mat for wear and secure edges to ensure a safe play environment for your child. |
|
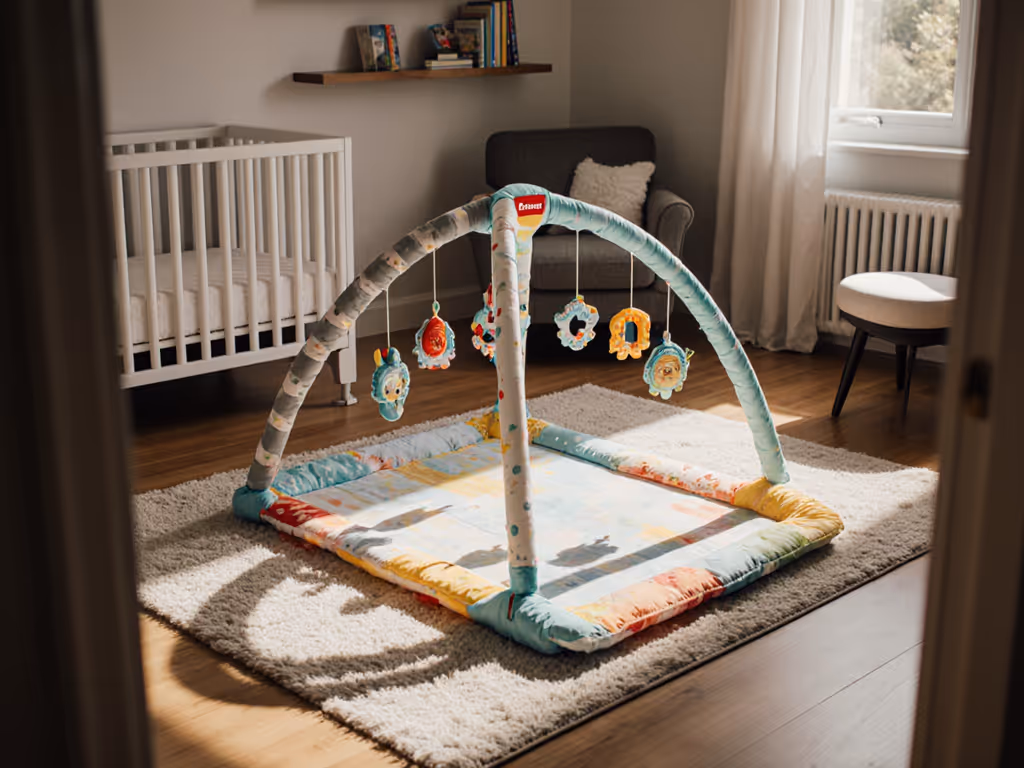
Choosing the right play mat means creating a safe and comfortable space for your little one. You want a surface that protects against bumps and bruises while supporting your child's exploration and play.
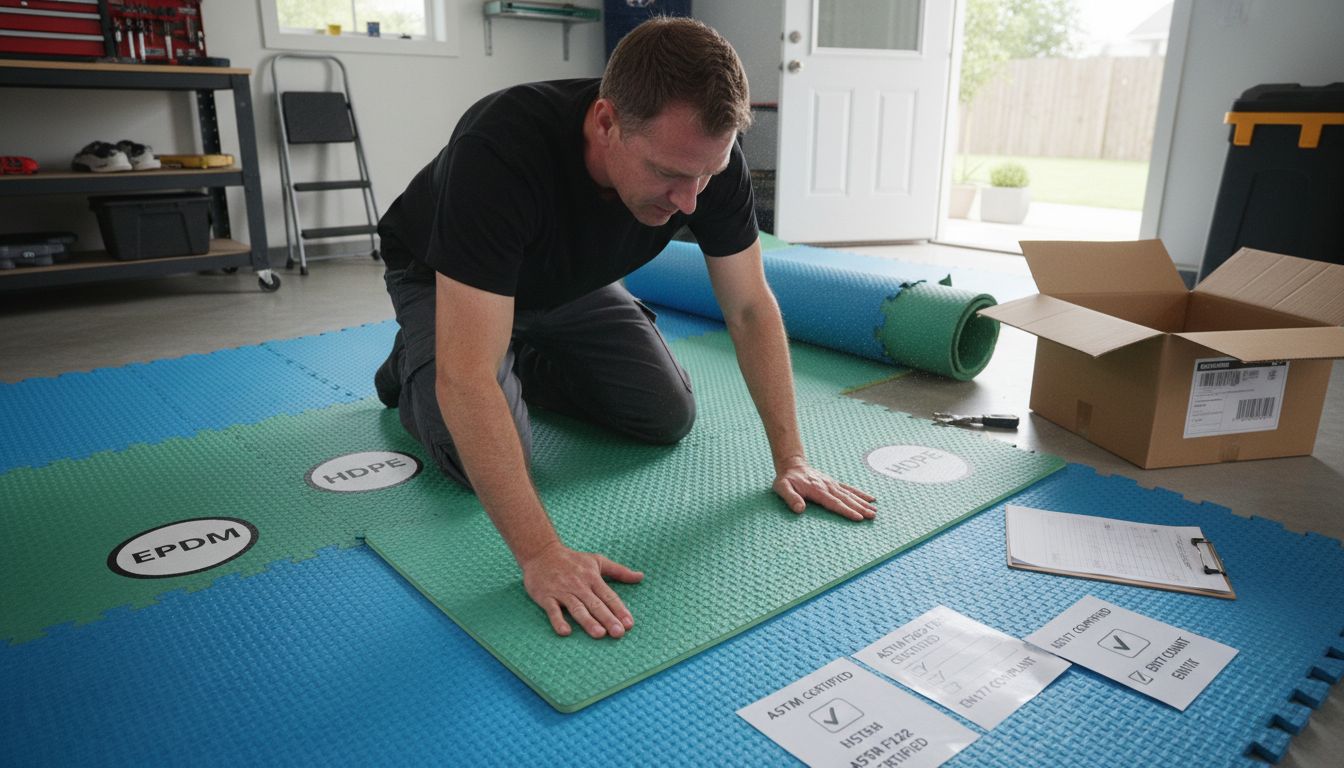
Start by examining the materials closely. Look for non toxic options made from EPDM rubber or high density polyethylene (HDPE) that offer excellent cushioning and durability. These materials provide elasticity and wear resistance crucial for active play zones.
Here's a comparison of common play mat materials and certifications:
| Material/Standard | Key Benefits | Safety Certifications |
|---|---|---|
| EPDM Rubber | Excellent cushioning<br>Wear resistant | ASTM F1292<br>EN1177 |
| HDPE | Durable<br>Easy to clean | ASTM F1292 |
| Polyurethane | Superior softness<br>Non toxic | EN1177 |
| PVC Backing | Non slip surface<br>Stable grip | Varies by brand |
| Low VOC Paints<br>Phthalate Free | Healthier indoor air<br>Reduces toxins | Greenguard<br>CPSIA |
Safety standards are your best friend during selection. Verify the play mat meets recognized certifications like ASTM F1292 or EN1177. These standards ensure the mat can absorb impact effectively and protect your child from potential injuries during tumbles and active play.
Thickness matters more than you might think. The mat should correspond to the height of play equipment and anticipated activities. A mat around 1.5 to 2 inches thick works well for most indoor play areas and provides adequate shock absorption.
Pro Tip: Always check for low VOC paints and phthalate free materials to minimize potential health risks.
Before finalizing your choice, inspect the mat thoroughly. Look for smooth surfaces without sharp edges or visible wear. Run your hands across the material checking for consistent texture and any potential weak spots.
Your next step will involve preparing the play area and positioning the mat precisely where your child will spend most of their active time.
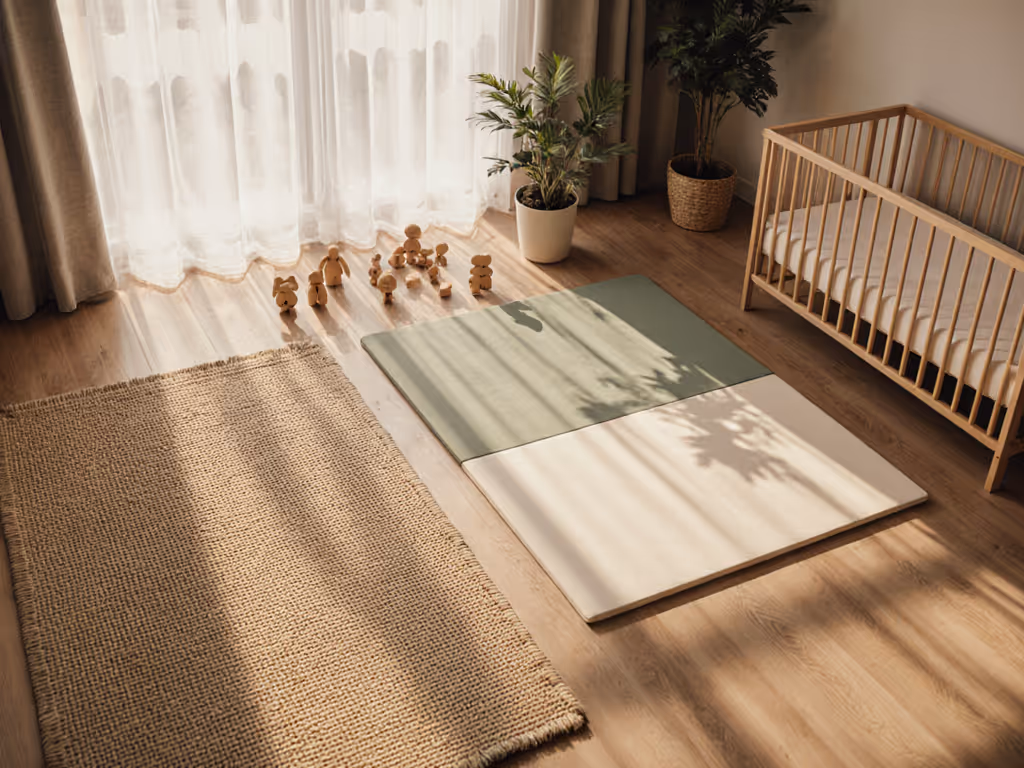
Preparing the perfect play area is about creating a safe zone where your child can explore and play without unnecessary risks. This step transforms an ordinary room into a protected playground that supports your little one's developmental adventures.
Start by conducting a thorough room assessment. Walk through the space and identify potential hazards like sharp furniture corners, unstable objects, or uneven flooring. Remove or secure items that could potentially cause injury during active play. Pay special attention to areas near doors, radiators, and furniture that might interrupt your child's movement.
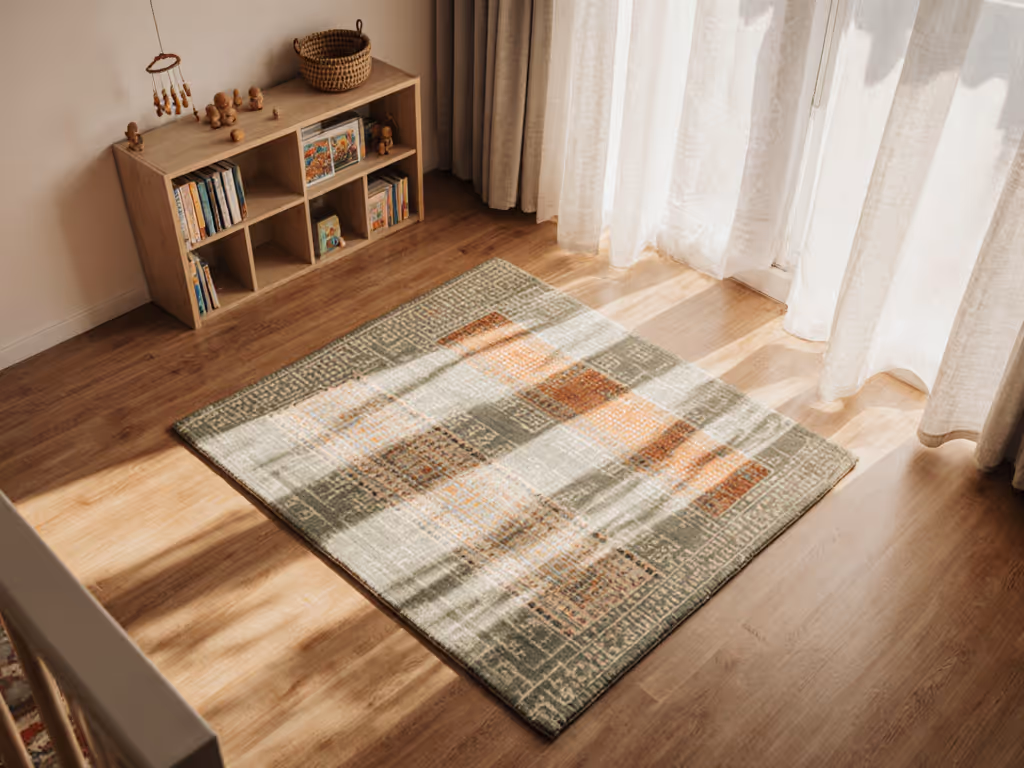
Clear the designated play zone completely. Remove rugs, electrical cords, and small objects that could become tripping hazards. Aim for an open space that provides ample room for movement while maintaining a safe perimeter.
Check the floor surface carefully. Your play mat needs a clean flat surface free from debris or significant irregularities. Sweep or vacuum the area thoroughly to ensure a smooth foundation for your mat. If you have hardwood or tile floors consider using a thin underlayment to provide additional cushioning and prevent potential scratching.
Pro Tip: Measure your play area before selecting a mat to ensure proper coverage and avoid gaps or overlapping.
Verify the room's temperature and lighting. Ideal play areas have consistent ambient temperatures and soft natural or artificial lighting that prevents glare but provides enough visibility for safe play. Avoid direct sunlight that might cause surface overheating or create harsh shadows.
Your next step involves carefully positioning the play mat to maximize safety and comfort for your child's play environment.
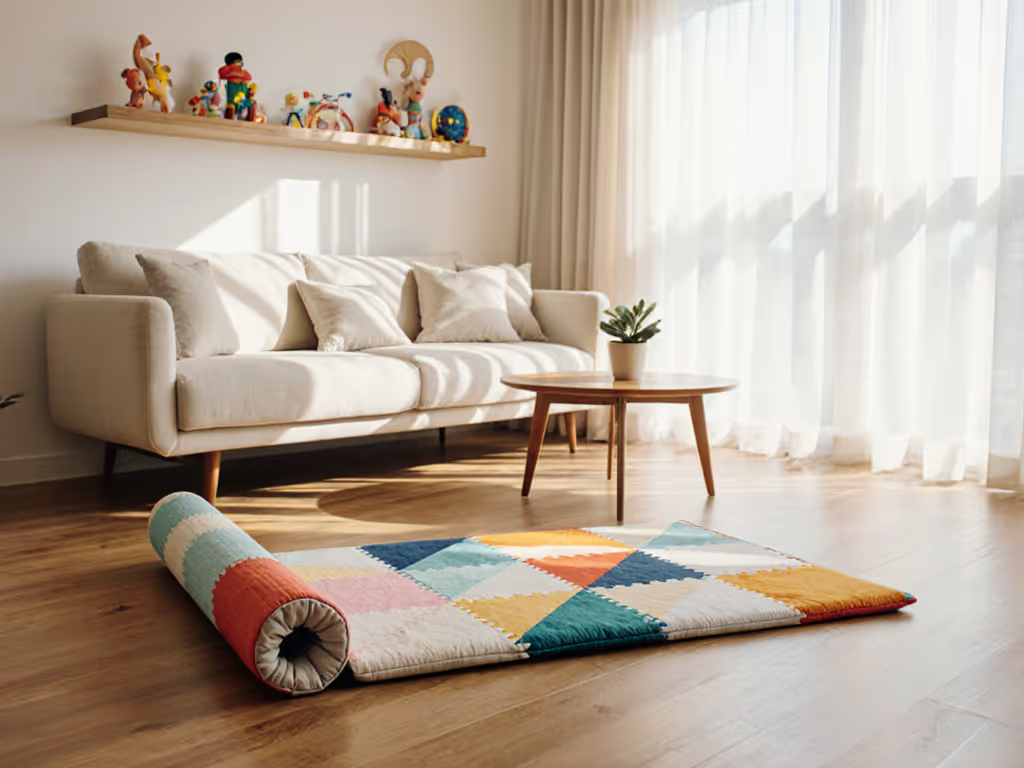
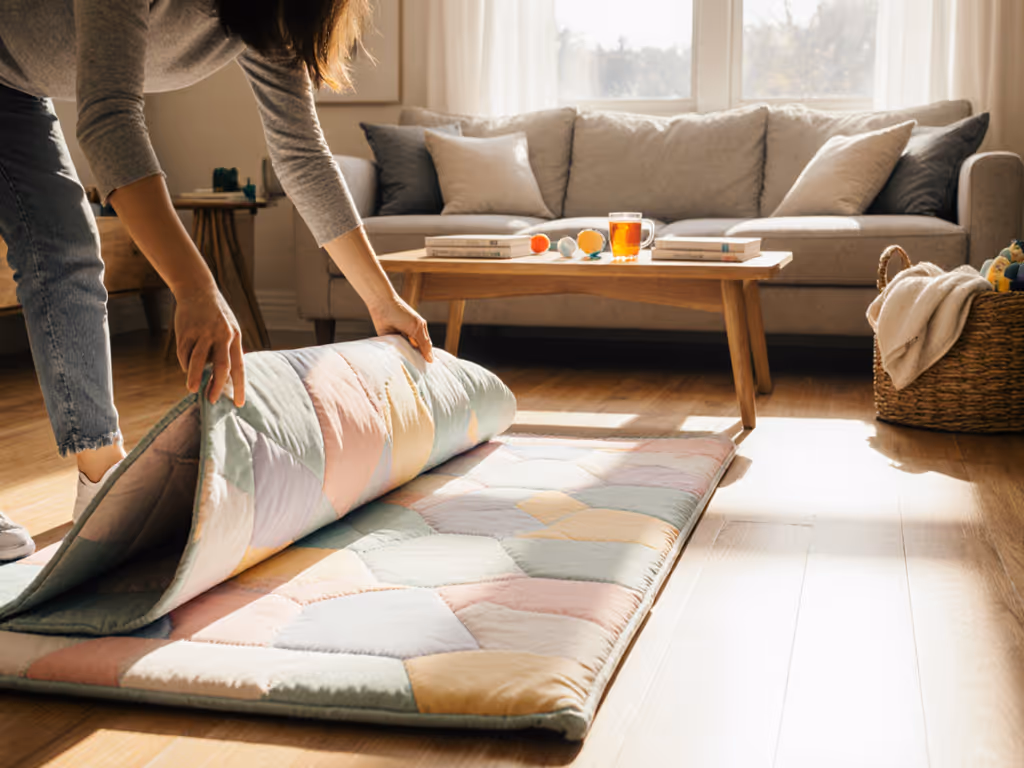
Transforming your play area from prepared space to a safe play zone requires careful mat cleaning and positioning. This step ensures your play surface is hygienic comfortable and ready for your child's adventures.
Begin by thoroughly inspecting the mat for any shipping damage or irregularities. If the mat arrived folded or compressed gently unroll it and allow it to settle naturally. Avoid using heat sources or aggressive stretching which could damage the material or compromise its structural integrity.
Cleaning is crucial before first use. Select a non toxic cleaning solution specifically designed for play mat materials. Create a gentle cleaning solution using mild soap and warm water. Use a soft cloth or sponge to wipe down the entire surface removing any dust manufacturing residue or potential contaminants. Work systematically moving from one section to another to ensure complete coverage.
Let the mat air dry completely before positioning.
Moisture can create breeding grounds for bacteria and potentially damage the mat material. Choose a well ventilated area and allow natural air circulation to dry the surface thoroughly. This process typically takes 30 to 60 minutes depending on room humidity and mat thickness.
Pro Tip: For future maintenance establish a regular cleaning routine. Daily quick wipes and weekly deeper cleaning will maintain mat hygiene and extend its usable life.
Carefully position the mat in your prepared play zone. Ensure it lays flat without wrinkles or bunching. If you notice any persistent creases gently smooth them out by hand. Align the mat edges precisely within your designated play area to maximize available safe space.
Your next step involves final safety checks and preparing for your child to enjoy their new play environment.
Ensuring your play mat stays securely in place is the final crucial step in creating a safe play environment for your child. This process prevents sliding tripping and potential accidents during active play sessions.
Start by checking the backing of your play mat. Many high quality mats come with PVC backing that provides natural grip against floor surfaces. If your mat lacks this feature consider using non slip mat grippers or adhesive strips designed specifically for floor mats. These accessories create additional stability without damaging your flooring.
Carefully examine the entire perimeter of the mat. Press down firmly along all edges to ensure complete contact with the floor. Look for any areas that might lift or curl watch for potential tripping points. Smooth out any bumps or uneven sections that could create hazards during play.
For larger play areas you might need multiple mat sections. When joining mats ensure tight seams with minimal gaps. Use specialized connecting clips or recommended joining methods from the manufacturer to create a seamless surface. Avoid leaving spaces between mat sections where a child could potentially catch a foot or trip.
Pro Tip: Conduct a weekly safety inspection. Run your hands across the mat surface checking for any signs of wear loose edges or developing irregularities.
Perform a quick safety test before allowing your child to play. Walk across the mat testing its stability. Drop a few lightweight objects to see how the surface responds. The mat should remain firmly in place without sliding or creating unexpected movement.
Your play area is now ready for your child to explore safely and comfortably.
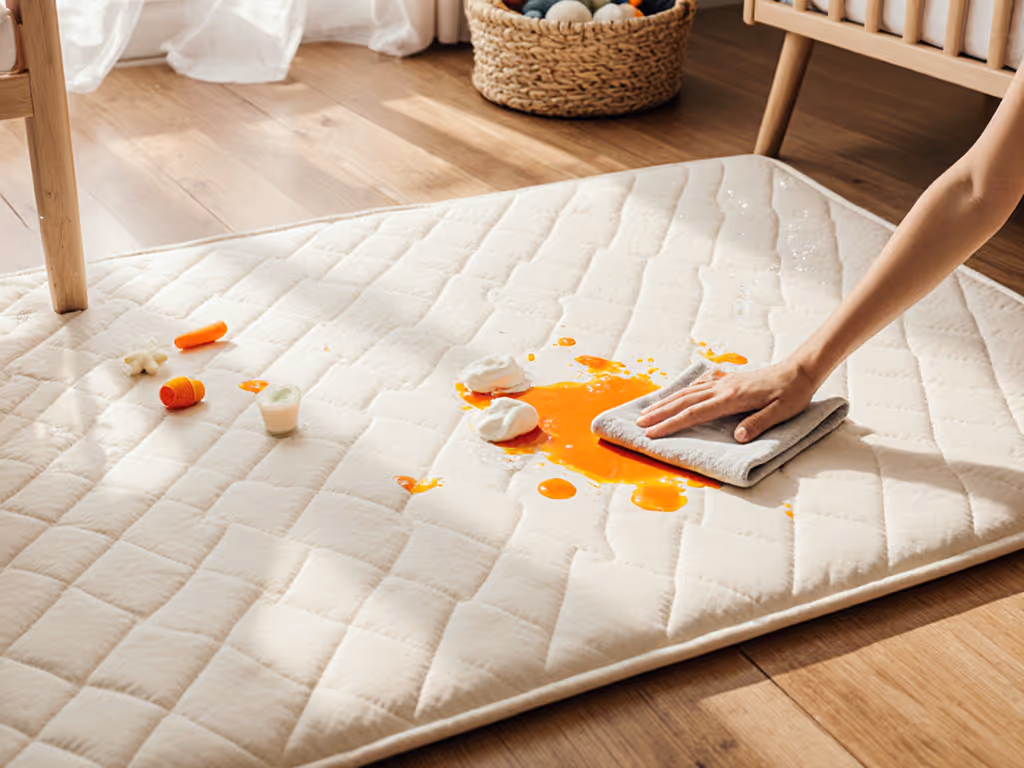
With your play mat carefully set up the final step is ensuring a truly safe and comfortable environment where your child can play and explore without unnecessary risks. This verification process transforms a well prepared space into a genuine safe haven for your little one.
Begin by testing the mat surface personally. Get down to your child's level and feel the texture carefully. Non toxic polyurethane mats provide exceptional cushioning that absorbs impact and creates a soft responsive play surface. Check for any unexpected firmness rough spots or potential pinch points that could cause discomfort.
Conduct a comprehensive safety assessment. Gently press different sections of the mat observing how it responds to pressure. A quality play mat should provide consistent cushioning without sudden hard spots or uneven areas. Look for materials that meet recognized safety standards like ASTM F1292 which guarantee specific impact absorption requirements.
Verify the mat edges and connections. Run your hands along all seams ensuring they are smooth and secure. Any raised edges or gaps could potentially catch little fingers or create tripping hazards. Make certain the entire surface remains flat and integrated without loose sections.
Pro Tip: Periodically rotate and flip your play mat to ensure even wear and maintain consistent cushioning across the entire surface.
Simulate child play by dropping soft objects onto the mat from various heights. Observe how the surface responds to impact. The ideal play mat should absorb movement smoothly without creating unexpected bounces or sudden compressions that might startle or unbalance a young child.
Your play area is now meticulously prepared a safe comfortable space ready for endless childhood adventures.
Setting up the perfect play mat is more than just laying down foam or rubber. It is about addressing every detail from material safety to shock absorption and mat stability. As the article highlights, choosing mats made from non toxic materials like EPDM rubber or polyurethane and ensuring proper installation prevents injuries and creates a soft, welcoming space where kids can explore freely.
At FloorBloom, we understand the challenges parents face when finding a play mat that balances safety, comfort, and durability in a style that suits your home. Our products undergo rigorous testing to meet standards like ASTM F1292 and EN1177 and come with clear guidance on installation and maintenance. Visit our landing page now to explore mats designed for every stage—from newborn playtime rolls to energetic toddler cartwheels. Don’t wait to give your child the safe and fun play area they deserve. Start your journey with trusted solutions at FloorBloom today.
Choosing the right play mat involves examining materials for safety and durability. Look for non-toxic options like EPDM rubber or HDPE that comply with safety certifications like ASTM F1292 or EN1177.
Prepare a clean, flat surface free from debris and potential hazards. Vacuum or sweep the area thoroughly to ensure a smooth foundation for your mat, allowing for optimal cushioning and safety during play.
To ensure your play mat is hygienic, clean it with a mild soap and warm water solution before use. Wipe down the entire surface with a soft cloth, then air dry it completely to eliminate any residues and avoid moisture build-up.
Secure the play mat by checking its backing for grip and ensuring complete contact with the floor. If it lacks grip, use non-slip mat grippers or adhesive strips to prevent sliding and reduce tripping hazards during play.
To verify safety and comfort, personally test the mat by checking its texture and cushioning. Ensure there are no hard spots or rough edges and that it responds evenly to pressure; a well-made mat should absorb impact without creating discomfort during play.
Conduct weekly inspections of your play mat by checking for wear, loose edges, and any irregularities. This proactive approach helps maintain a safe play environment and extends the life of the mat.